8 Ways To Make Your Own Wavetables
1. Resample within Serum
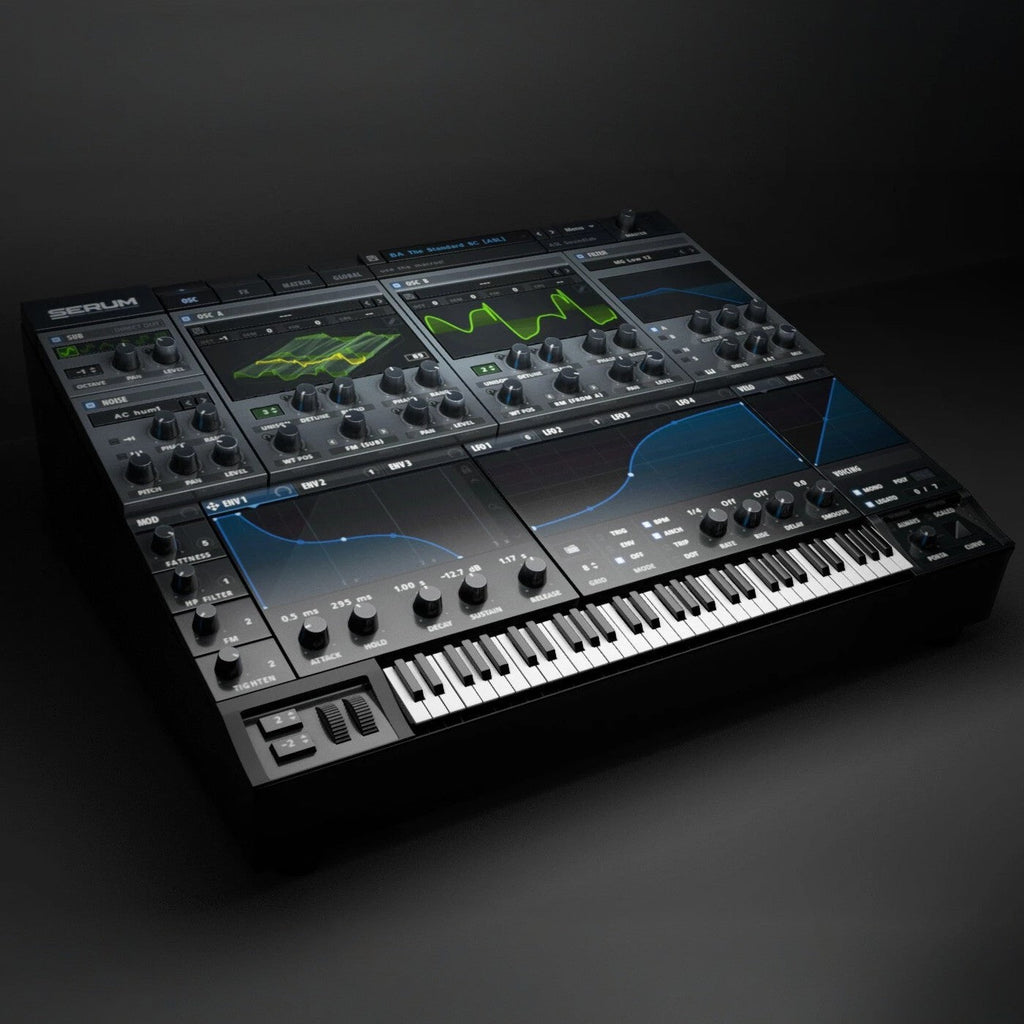
In Serum, the options for resampling oscillators are named “Render Osc A Warp” (or Osc B) and “Render Osc A to Wavetable (or Osc B)” and are accessed from the dropdown menu on the main oscillator page. Here’s how to create wavetables using these features:

Render Osc A Warp
This feature captures the oscillator’s waveform, including any changes made by the Warp mode,and generates a new wavetable.
Steps:
- Set up Osc A (or B) with the waveform you want to transform.
- Apply a Warp mode (e.g., FM, Sync, Bend) and adjust its parameters as needed.
- Open the dropdown menu at the top-right of the oscillator and select “Render Osc A Warp” (or B, depending on the oscillator).
- Serum creates a wavetable reflecting the transformations from the applied Warp mode. You can now scroll through the new wavetable or further modify it in the wavetable editor.
Use Case: Great for creating new wavetables based on specific Warp effects, such as sync sweeps, FM modulation, or complex bending.
This is arguably the easiest and fastest method for making wavetables.
NOTE: Render to A+B (Stereo) splits the left signal to A and Right signal to B, making 2 separate wavetables
2. Recording Other VST Synths or Hardware
To create a wavetable from another synthesizer, you can record a sweeping sound with variation between the start and end points. This process involves recording the audio, importing it into Serum, and fine-tuning the settings to ensure the wavetable functions properly.
Steps to Create the Wavetable
Design the Sweep:
- Use the external synthesizer to create a sound with tonal variation, such as a filter sweep or modulation, over time.
- Ensure the sweep lasts long enough to capture clear differences between its start and end.
Record the Sound in C1 33Hz (In Serum that’s C0):
- Record the output of the synthesizer at C1.
- Save the recording as a WAV file for compatibility.
Set the Pitch in Serum’s Formula Panel:
Before importing the audio, set the pitch to C0 (33Hz - 1348 Samples) in Serum’s Formula Panel. This step helps Serum calculate the correct sample size for your recording.
Import the Audio:
Drag the recorded audio into Serum’s wavetable editor panel.

Adjusting the Sample Size for Drift
If the recording is from an analog source or has pitch imperfections, the sample size may not align perfectly with the wave cycles. You can manually adjust the sample size to correct for drifting waveforms.
Drifting Backward (While Scrolling Forward):
If the waveform appears to drift backward as you scroll the wavetable position forward, the sample size is too large. Decrease the sample size incrementally until the waveform stays consistent when scrolling forward.
Drifting Forward (While Scrolling Forward):
If the waveform drifts forward while scrolling forward, the sample size is too small. Increase the sample size incrementally to stabilize the waveform.
A bit of quick math to determine the length of your recordings

To capture 256 frames at C0 in Serum, we need to account for Serum’s specific frequency and sample standards for C0, which is defined as 33 Hz and 1348 samples per cycle. Remember you can manually set the amount of samples in the formula area to any key you want by the note: C0 - A#1 - G4 Etc, or by entering the exact amount of samples simply by typing the number. In the case of C0, you could also simply type 1348 and hit enter. Take note that in Serum C0 is 33Hz. In summary, Serum’s C0 = 33 Hz is a design choice made to optimize wavetable handling, computational efficiency, and usability in the context of digital synthesis, even if it differs from the traditional definition of C0 as 16.35 Hz.
Also consider that you can apply this math formula above to every key you want to determine the appropriate length to record your audio clip.
In the event your recording is too short, if you want you can extend it by using the morph modes. To collapse the morph tables to frames, use the Normalize tools. This will take the table segments that Serum has generated in between the frames that were already existing, and save them as individual frames equally a total of 256. This might be important when making wavetables to function across different VST / AU instruments. Some other wavetable instruments might not be compatible for example, ANA 2 does not interpolate between frames. so you need fully rendered wavetables.At 120 BPM, each beat lasts 0.5 seconds because there are 120 beats per minute. To find out how many beats fit into 7.8 seconds, you divide 7.8 by 0.5, resulting in 15.6 beats. In 4/4 time, where there are 4 beats per bar, you then divide 15.6 by 4, which equals 3.9 bars. Therefore, 7.8 seconds is approximately 3.9 bars at 120 BPM.
Depending on the nature of your sound you may way to apply some of the editing features such as removing blank or unwanted tables, smoothing out the edges by fading them, normalizing for maximum volume or adding morph tables.
To Summarize: Although this might seem scary with all these math equations, in practice it’s rather quite easy and simple to do. In most cases you can simply record your audio for 4 bars at 120 BPM in the Key of C1 (or Serum’s C0 which is 33 Hz not 16Hz), drag and drop the audio, then do any final editing as desired and save it as a 32 Bit wave.
3. Resampling Other Audio Sources
The same rules apply as recording your own synthesizer sweeps, but in this case you have less control over your source material which has advantages and disadvantages.
A major advantage is you can get inspiration by random ideas you wouldn’t have thought about otherwise. For example you can go through your sample library and experiment by finding out what key your sample is in, input that data into the formula field and drag your audio in to see the result. This also extends to experimenting with different audio content such as drums, voices (speech or singing), live instruments or really just about anything. You will achieve various degrees of success at making “good wavetables” and most often you will have to try different options when it comes to the import type choice, pitches, etc. (Depending on the sound you might also get better results using Vital to make the wavetable for example).
For these reasons it makes it obvious how sampling in a “controlled environment”, by recording in C1, for the correct length of 4 Bars at 120 BPM is going to yield more consistent results.
Things to consider when resampling:
- Sounds with phases that aren’t consistent won’t scroll smoothly
- Sounds with delays / reverbs or any other stereo information tend to yield “mixed results”
- The length of your wavetable if set to the correct frame size to match the pitch might not be very long, in which case you’ll have to morph to make your 256 Frames (If you want to export it for use in other instruments)
Chaos Waves / FX Waves:
A really cool technique, popular in some genres such as Dubstep, for achieving extreme ranges of tones within 1 single wavetable, you can experiment by combining several audiofiles of various timbres and pitches, exporting them together as one audio file and importing that into Serum. This technique is clearly very experimental and often requires trial and error and editing your source material to yield great results.However when you do get it right you strike sonic gold!! You can truly make insane patches with this technique!
Try mixing synth sounds with vocal snippets or perhaps a kick drum with a metallic spectral growl!!
4. Morphing Between Single Frames
A far simpler technique is to take single frames and use the morph mode options to create a new set of tables in between, creating a whole new unique wavetable.

** 2 single frame wavetables with 256 generated morph tables
More about the 2 main morphing options:
The Crossfade morphing option in Serum creates smooth transitions between wavetable frames by blending their amplitudes. This process involves linearly interpolating the waveforms, which effectively “mixes” adjacent frames. As a result, the transitions are smooth while preserving the original time-domain shape of each frame. Crossfade morphing is best suited for simple or tonal wavetables where maintaining the natural harmonic content is important. It produces an organic and natural feel, making it ideal for sounds where subtle and straightforward blending is needed.

The Spectral morphing option, on the other hand, operates in the frequency domain by interpolating the harmonics and their amplitudes between frames. Instead of blending the waveforms directly, this method analyzes the harmonic content and creates transitions based on the frequency components. This approach is particularly effective for complex or evolving wavetables with significant differences between frames, as it provides a harmonic-aware transition.
Spectral morphing often results in a more “liquid” or “digital” sound, emphasizing harmonic structure over waveform shape. This makes it a great choice for producing smooth, spectral transitions in intricate sound designs.You can import single frames by dragging in a single cycle audio file into the drag and drop area or by selecting one from the Singles section in the dropdown menu in the bottom right corner.
Another option is to copy and paste a frame from the other oscillator simply by switching oscillator windows (OSC A - OSC B buttons at the top right corner), selecting a single frame from the frame selector area, switching back to the oscillator you are working on and pasting it in.
5. Drawing your wavetable
You can also draw your waveshape directly in the wavetable editor by using some of the tools on the left side of the waveform display. By setting the grid size you can increase or decrease the resolution in which you want to work. You can smooth the waveform or even apply a spectral effect per grid size (Pretty interesting).

*4 Octave square with spectral effect being applied
You can also manually draw in the individual harmonics and phases above in the Harmonics panel by individually dragging the “Bins”
A bin in signal processing is like a bucket that holds the energy of specific frequencies in a signal. During an FFT analysis, the frequency spectrum is divided into discrete bins, each representing a particular range of frequencies and their amplitudes. These bins are essential for sorting and visualizing the harmonic content of a sound.
Each bin also has a phase which you can also edit each one individually, in the same way as the latter. You can import single frames by dragging in a single cycle audio file into the drag and drop area or by selecting one from the Singles section in the dropdown menu in the bottom right corner.
Another option is to copy and paste a frame from the other oscillator simply by switching oscillator windows (OSC A - OSC B buttons at the top right corner), selecting a single frame from the frame selector area, switching back to the oscillator you are working on and pasting it in.
6. Using the Formula Parser
The Formula Parser in Serum (or similar synths) allows you to create and manipulate sounds using mathematical expressions, or formulas, to control the wavetable’s behavior. These formulas use different functions and variables to generate complex waveforms. There are a list of functions found in Serum’s manual.

This is what I would consider the most difficult way to make wavetables, however there’s a set of Formula presets you can choose from. You can also ask Chat GPT to generate formulas for you, although it’s far from perfect (Hint: You have to train it a little)
7. Text To Speech
Using the Formula Parser again, simply type any words you want in quotations and it will generate that into a “Text To Speech” type wavetable.

8. Image to Wavetable
Simply drag in a .PNG into the wavetable on the main window. If you click the wavetable window and change the display mode, you will will see the frames creating the shape of your image.

.

Recent Posts